The Right Roti: A User’s Guide To Roti Makers
Soft rotis hot from your mother’s kitchen is something you get homesick for often. But trying to make them yourself is not the easiest task.
Sure you can put the dough together in five minutes—all you have to do is put the flour and water in a bowl and knead it into the right consistency. But when it comes to actually rolling out the roti, you probably have irregular shapes that you could maybe pass off as the outline of a yet undiscovered continent. And how does anyone figure out when to flip the roti over?
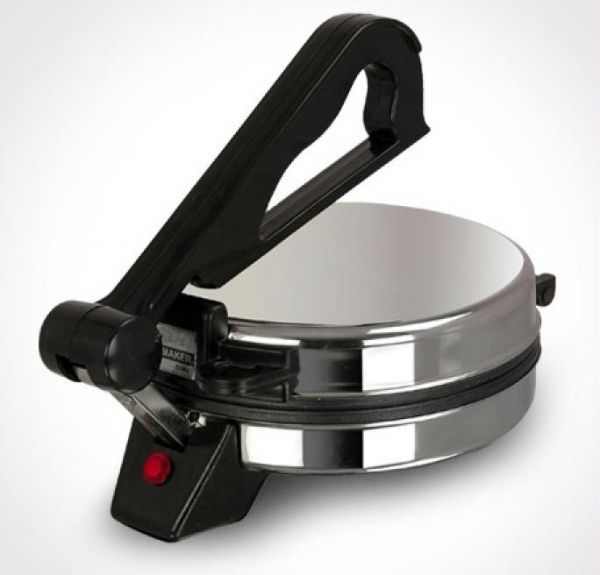
If this sounds familiar, then you’ve probably gone ahead and bought yourself a roti maker already. And if you haven’t, you should probably head over to Rediff.com right now and save yourself endless trouble with rolling pin and bread board.
How To Use One
So now that you have your handy roti maker, you need to know just how to use it. A good roti maker will not only let you make the softest of phulkas, but even parathas! And what’s more, it’ll probably be healthier than ones you make on the tava.
Phulkas
Before you get started, you should remember to knead the dough and keep it aside for at least an hour for the gluten strands to form and your roti to be soft and perfect.
When you’re kneading it, remember to ensure that the dough is a little looser than you’d normally make it, to allow it to be easily flattened. Any roti maker online, like the ones on Rediff.com, will need the dough to be kneaded this way because no machine is as flexible as human hands.
Roll your dough into small balls, no larger than a lemon, then flatten them slightly. Dip them in a little flour so both sides are covered and set them aside.
Switch on the roti maker now and wait for it to heat up. Then, place one of your flattened portions of dough and use the handle and top of the roti maker in quick succession to flatten it out. This can be a little tricky, so don’t be discouraged if it doesn’t happen right the first time.
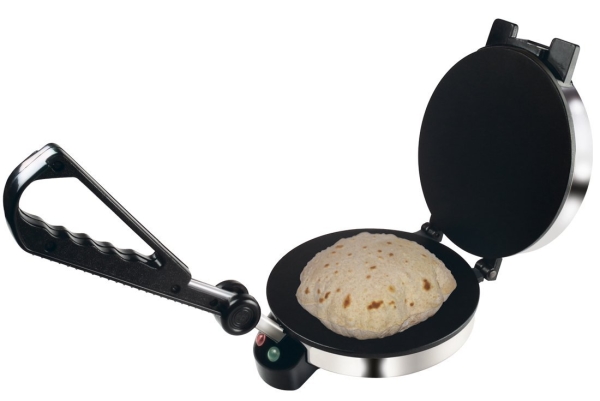
Wait for the phulka to brown slightly on one side before flipping it over. Then do the same for the other side, and flip it over one more time. The phulka should now puff up, and you can take it off the roti maker.
Paranthas
Any roti maker can be just as easily used to make parathas as well as phulkas.
To make a paratha, all you have to do is knead the dough as usual, just slightly looser (like you had to for the rotis). Then roll out the dough balls and flatten them slightly again before placing them in the roti maker.
Press the top down on your dough, but not as hard as you would for a phulka. You need your paratha to be sufficiently thick, and pressing too hard could squish out your fillings.
Fry one side till it starts firming up, then flip it over and rub a few drop of ghee on the paratha. Again, wait for a bit and flip it over again before rubbing a little ghee on the other side. Frying a paratha on a roti maker takes less oil than on a tava, so all you’ll need is a few drops of ghee at most. Keep turning it over every few seconds till the paratha is golden brown and cooked through.
So there you have it. Perfect, round rotis and comforting parathas, all from the very convenient roti maker. It’s so easy to use, and reduces the number of dishes you have to wash, that it’s a must have for every kitchen.
Titus72
December 1, 2016Hello, i noticed that your site loads very slow, it took around 7sec.
to load this article. Do you know that website speed is major
ranking factor for google now? If you speed up your page loading time you can rank higher and get
more targeted traffic. There is simple method for faster loading, search for: Masitsu’s tricks